Showing posts with label Gift Box. Show all posts

Monday, December 7, 2020

Assembling the Quietfire Upright Gift Boxes


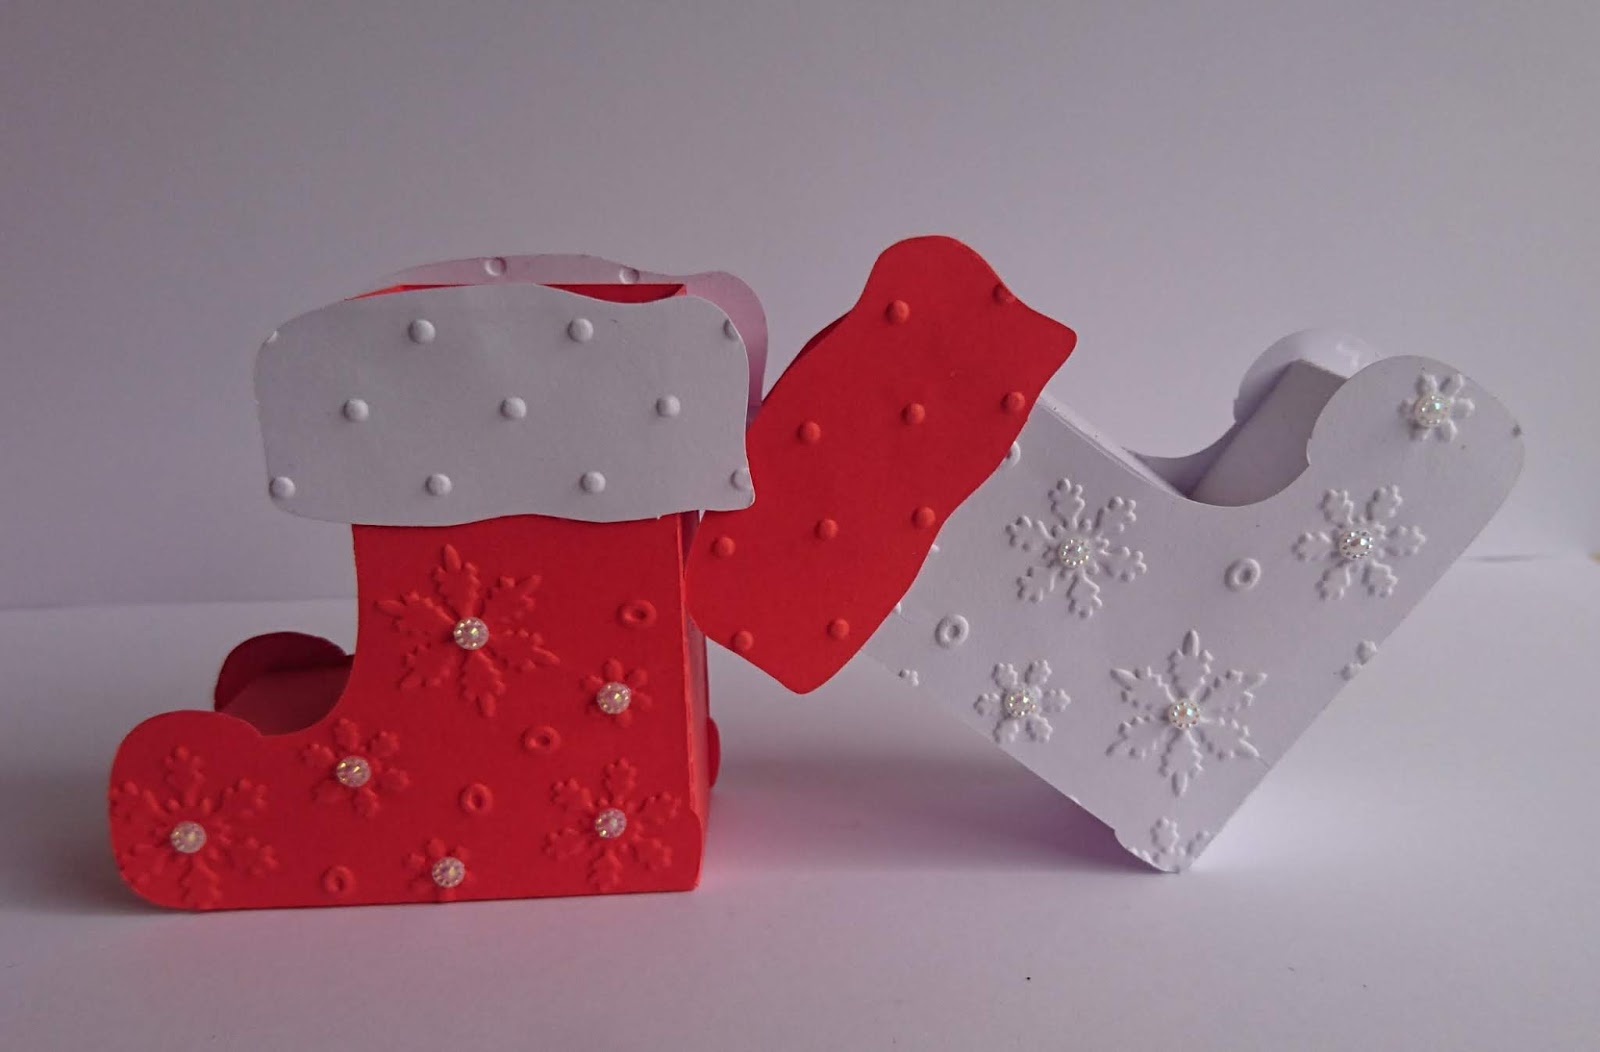
Meet the new Upright Gift Boxes!  These are all Christmas/Winter themed, but I think you'll see this type of box again!
 

They're really very easy to cut and assemble.  You can find them on my Silhouette page - just filter my profile using the word "upright".

Here is how you assemble them.

Cut the file in any colour you wish.  Busy patterned papers might be too busy for this box!

 
Fold along all the long perforated score lines.
 
The sides folds of the box require a little extra love. They form a "pleat".  Use a ball stylus and ruler to help crease those lines, especially the one that is horizontal when the box is upright.  


Don't forget the score lines on the tab.  Those will need to bend, too.


Add adhesive to the side tab and form the box.


Close the bottom of the box.  You may with to add adhesive to this tab, too.
 
 
Pinch the side pleats gently, fold the top over and insert the tab into the slot.


Add the included bow on the front or make your own ribbon bow. Fill with a gift or some chocolates, or......?

Happy creating, Suzanne

P.S. You can find them on my Silhouette page - just filter my profile using the word "upright".


Wednesday, June 17, 2020

HAPPY BIRTHDAY GIFT CARD BOX


Hello all! 
Kora here with a Happy Birthday Gift Card Box made for a young lady turning seven years.

You can find the digital cutting file here:

Choose the colors of your choice and let the cutting machine do the rest.
all cut

Suzanne made a video tutorial on how to assemble the box. You can find it here.


I added lots and lots of rhinestones because the birthday girl loves glitter and shimmering stuff. The more the better.

I also quilled the first initial of the girl's name to accompany the card.

Have a happy. crafting week!
Kora


Monday, November 25, 2019

Nicolas´ Boot


Hello digital friends!

On December 6th we celebrate St. Nicolas´ Day. Children place their boots outside the house in hope Nicolas will fill them with sweets and nuts. Some parents fill real boots, others use plastic or paper ones. I chose "Santa´s Boot Box" from Suzanne´s digital collection. The file includes a mistletoe, which I didn´t cut.

On the mat

White and red were the colors of my choice.


Once cut you can start by folding all perforated score lines upwards on the boot box. Next, you apply adhesive to all the tabs. If you start by folding the large boot back flap in place the construction will be more obvious. (I have done serverak boots and it doesn´t really matter where you start, you always end up with the boot :-)

I decided to emboss the sides (snowflakes) and the fur (dots). 
To give it a shimmery look I attached some rhinestones. 


Fill with chocolate and nuts.


Happy cutting!
Kora