Showing posts with label Digital cutting. Show all posts

Tuesday, April 23, 2024

Happy Birthday Balloons Stencil Card

Hi Y'all
Robyn here with the annual need a  birthday card for everyday in  May Birthday challenge.
Sheer numbers and the cost of postage turns my creativity to post cards!

On the Mat

Basically, I cut the designs and used them as stencils on a piece of watercolor paper.
The working mat

Please share with us what you do with your designs from 
and join the
on Facebook
to share and for support and inspiration.


Supplies


Monday, March 18, 2024

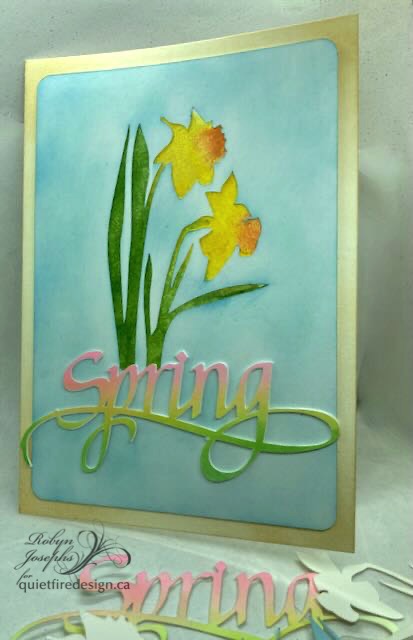
Daffodil Thanks! Stencil Card/Spring

Hi y'all!
Robyn here with a card for any spring occasion.
Both these files are older and never go out of style!
It's easy to search for what you want in 

These were created for a Spring card Swap.
On the Mat

For the sentiment I used Spring
Spring

I cut four and glued them together for dimension .
Stencils on the envelopes
One background was a solid blue card stock

and one an ink blended.

I hope this inspires you to do some browsing and creating!
Please share your creations with us and find more inspiration and support at the

Supplies


Monday, January 15, 2024

Heart Garden Filigree Box/Valentine Post Card

Hey Y'all!
 Robyn here filled with love for the versatility of digital files!

Enamored with the
On The Mat

and wanting postcards,  release compound path and separate out the elements to fit on a post card.

Working mat

Added some gold heart embellishments and was in love all over again!

Supplies:
We'd love to see what you do with this years (and previous) valentine files!
Please share your creations at
on Facebook


Thursday, June 22, 2023

Nighttime Parenting Card Front

Hi Y'all!
Robyn here with the perfect card for many new parents!
After you are done laughing, if you dont think too much. you can make this card in less than 30 minutes!

On the Matt

The card is just 3 layers and the outlines of the battery charge icons.
You can add as many little ones as needed.


Card is A-2 sized.
Add any card base of your choice.
When I layered up some color was showing through so I outlined the cut outs with black sharpie.


Supplies

Have fun with it, get as much sleep as you can if you are a new parent or helper!
Please join us on 
Facebook
for questions, inspiration and we have a lot of fun!
Comments and questions always welcomed!


Thursday, March 9, 2023

Dingbat Stencil Fonts-Patterns and Garden-Happy Birthday Card

Hi Y'all!

Robyn here welcoming you to unlimited possibilities with Pattern and Garden stencil fonts!
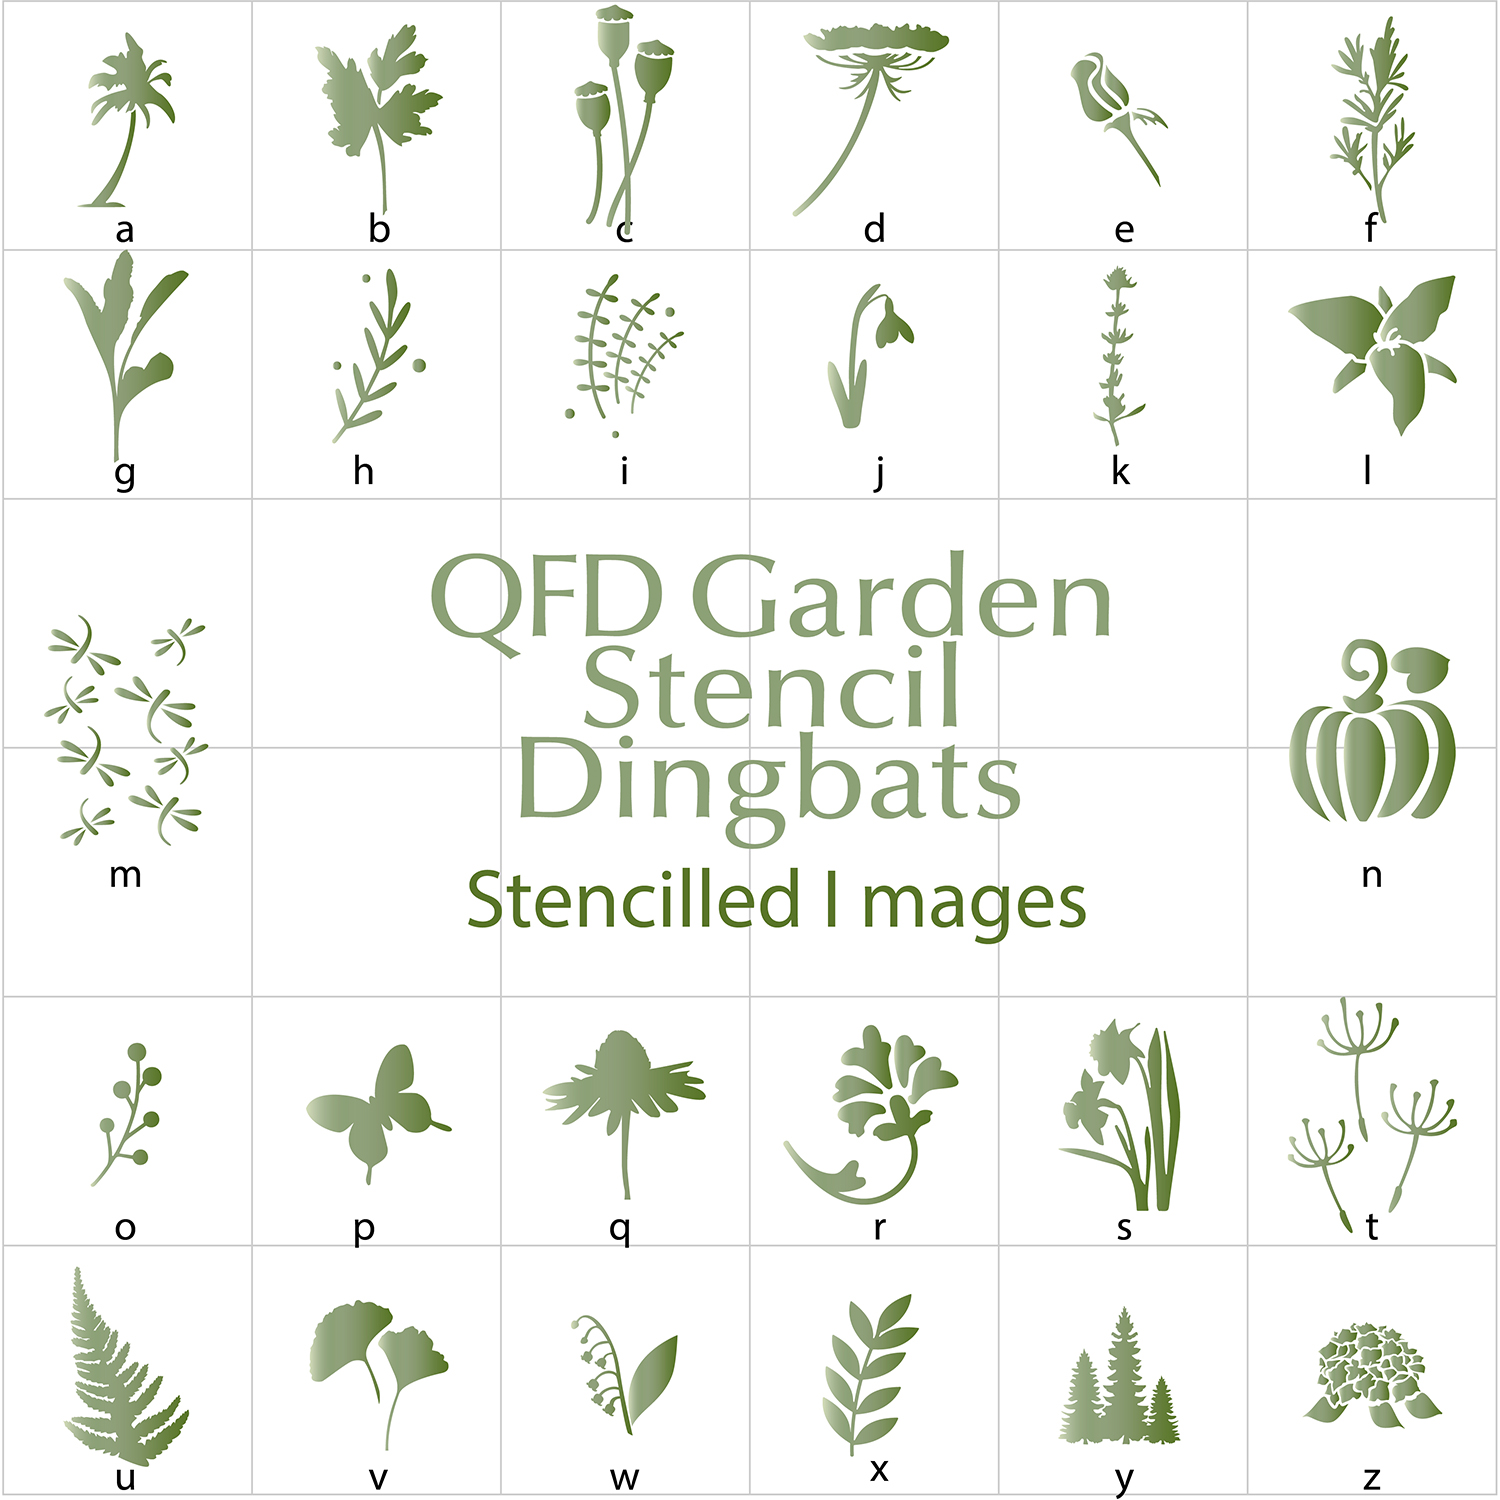
One font file gives you 26 options!
On the Mat
Garden Stencil Dingbat
Pattern Stencil Dingbat


Using the Pattern "d" as a stencil and Garden "s" as a die cut I created the cuts needed for the card. 
Working Mat
"d" stencil
"s" daffodil cuts
Any sentiment from Suzanne's design store can be added to any occasion.

Supplies:
  • Silhouette Design Store files- QFD Pattern Stencil Dingbat Font- #433558
  •                                                  QFD Garden Stencil Dingbat Font- #433556
  • Cardstock
  • Adhesive
  • Paint and ink for stenciling and coloring cuts
Please enjoy all the possibilities and permutations of these fonts!
Share your creations with us at the
on Facebook.


STENCIL Dingbat FONTS

 Hello, everyone :-)


Did you see the new QFD stencil fonts? (You can find them here: http://bit.ly/2oAR9e6) They are amazing. You have so many different stencils you can choose from.


two of many stencils cut


I like them because they are perfect for background designs.
Here are some examples:


Have a colorful week!
Kora


Tuesday, January 10, 2023

QFD OUTLINE CARD MONOGRAM FONT


Hello, everyone!

Happy new year to all of you! May it be a crafty one :-)

Here is a birthday shaker card I did for my sister. 

What you need:
pattern paper of your choice
transparent paper
glitter
double sided paper

all cut:

I cut the "inlay" J out of transparent paper and out of pattern paper as well. 


The transparent paper put in place.


Adding stars and hearts and glitter :-) I used double-sided tape because it works best with transparent paper.

et voilá la carte


Have a happy and safe week!
Kora

Thursday, January 5, 2023

Let's Get Lit Trees Layered Stencil Card

 Hi Y'all!
Time to create cards for those you received and didn't send!
This card has enough sparkle to welcome in the new year, no matter what it brings!
On the Mat


Lots of pieces to create a few more cards!

Happy New crafty year!
Please join us to share your resolutions, inspiration and support at
Supplies:

Tuesday, December 13, 2022

Winter Deer Treat Cup/Peace- Mash up Card

 Hi Y'all!
Robyn here with one of the last and not least Holiday cards of the year.
Procrastination was useful as I had so many files to upload to my library the files mixed and mingled in the creative space and this card emerged!

Winter Deer Treat Cup, is an adorable quick 3D project, and I used just the silhouette.
Always make a copy before you start messing with it!
On the mat

Peace is a file I return to again and again in all seasons

Card base and layers,  you can use any of the hundreds of Suzanne's card files.
I thought I was going to use the Joyful sentiment.

Working mat

I cut four peace, layered them for dimension and used a black layer on the bottom for a drop shadow.

You can use the negative as a spacing template, and with some careful cutting get a bonus card out of it.
I wasn't feeling the snowflake, so that will also be saved for another card.


****Digital Cutting Tip****
Use a clean soft brayer to  roll over your paper on the sticky mat.
For these intricate cuts you want the mat to have the least stick possible and still get a good cut and the brayer will help insure good contact.
Brayer again before you remove the paper, to keep the cut on the mat, remove the negative, then roll your mat, not the paper to release the cut.


Supplies
May Peace be your gift this holiday season and in the New Year!
Comments and Questions warmly welcomed.
Please visit us for more inspiration and share your creations at
on Facebook.