Monday, September 23, 2019

Quietfire Quick Clips - Ribbon Gift Box


Hello, digital crafting friends!

If like me, you are a craft supply hoarder, you probably have many ribbons lying around. These go perfectly fine with the Ribbon Gift Box.


Materials used:
pink and violet heavy cardstock
ribbons 
embellishments

If you need a taller version of the gift box, you can find the cutting file here:

Happy crafting! 
Kora


Wednesday, September 18, 2019

Chalkboard Easel Cards

Hello Connie Nichol here today with a couple of super simple cards featuring Suzanne Cannon's chalkboard easel cutting file available in the Silhouette store here.  The easel design is a great base for so many different cards - you can use chalk paper and write a message with chalk or a chalk marker, add a stamped sentiment or as I did in my projects, add a die cut word.


I gilded my die cuts with the brand new Quietfire Design gilding powder.  This is an ultra fine embossing powder that comes in six delicious shades.  I dabbed embossing ink on my die cut word, coated with Kells Gold gilding powder and heated with my embossing heat gun. Simple, yet magical to turn white cardstock into a beautiful metallic gold.


For the background of the Hola card, I experimented with gilding droplets of gel medium.  I used a stiff brush, dipped it into the gel medium and flicked it with my finger onto the card background, then coated it with the gilding powder.  Tap off the extra and then heat emboss.  It turned out kind of neat because of the dimension of the gel medium.  You can try this with anything that will make the embossing powder stick so that it can be heat embossed.  


Thanks for stopping by and have a great day!

Quietfire Design Products UsedKells Gold gilding powder,  Happy Birthday - small die, Hola die, Chalkboard Easel cut file

Other Products:  Echo Park patterned paper, Close to my Heart cardstock, chalk paper and chalk marker, Prima gel medium, Faber Castell stiff brush, Clearsnap embossing ink.


Monday, September 16, 2019

Bébé/ Baby Stroller Card


Hello crafty friends!

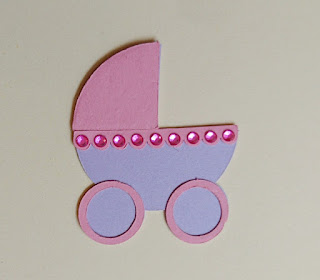
Kora here again with another fun project: a baby stroller card I made for the newest addition to our family - little baby girl Sophie. I combined the digital file: bébé / baby stroller card with some dies.

First of all, I cut all the different elements using heavy cardstock (violet, pink and light yellow).

After putting them all together I added some rhinestones and a few hearts I cut with the 

Hearts & Pawprints Sprays - 2 Metal Cutting Dies

The baby stroller put together and decorated with some rhinestones.

For the inside of the card I decided on stars using these two dies:
Flourished Night Sky - Metal Cutting Dies

Butterflies & Stars Sprays - Metal Cutting Dies

And -of course- I again added some rhinestones.

Happy crafting! Thanks for stopping by! 
Kora


Wednesday, September 11, 2019

Best Sister


Hello digital friends!

Kora here again with a birthday card. It was my sister's birthday at the beginning of September, so I needed a card. The file comes with "best sister" or "best brother" :-) You can find the digital cutting file here

on the mat

 Best Sister cut 

I wanted to add some extra effect to the card so I decided on embossing the best sister lettering with red embossing powder.


The best sister lettering now has a wonderful shimmering look.

I chose a patterned paper (different shades of red) to mat the lettering. And of course some rhinestones. 


Thanks for stopping by. Have a great day!
Kora


Wednesday, September 4, 2019

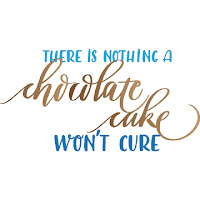
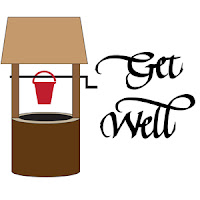
There Is Nothing Chocolate Won't Cure - Chocolate Chip - Get Well

 
 Yogi here today with lots of chocolate... Give me some good quality chocolate and I'm in BLISS!!!

I'm using a sentiment stamp from Quietfire Design ("My Dark Side Is Chocolate" 3pce set).

And am using a few of Suzanne's electronic files available on Silhouette onLine store. Click images to purchase. 


https://www.silhouettedesignstore.com/designs/297708https://www.silhouettedesignstore.com/designs/63063https://www.silhouettedesignstore.com/designs/48227

 
Opened SCAL (Sure Cuts A Lot software) and opened all 3 files, removing things I didn't need including the "a Cake" from the quote. Hid the chocolate chips and the Get Well and printed out the "There Is Nothing..." on white cardstock. Hid the quote I just printed and cut the rest.
 
Top folded my cream cardstock to create my card. Adhered a piece of Co'Ordinations brown cardstock edge to edge on the card front.

Applied ink using a WOW embossing pen and embossing with Emerald Creek "Oil Rubbed Bronze" embossing powder. Trimmed down, sponged some Distress brown around the edges and adhered to card front.

Colored the chocolates using Tombow markers in various shades of brown, leaving the shine piece white. Applied Versamark and clear embossed the whole chocolate. Adhered 3 of them to the card front.

On the inside: Colored the "Get Well" with a Tombow marker and inked with the Versamark and embossed with the bronze. Adhered to inside.

Adhered the remaining chocolate chips.


Wednesday, August 28, 2019

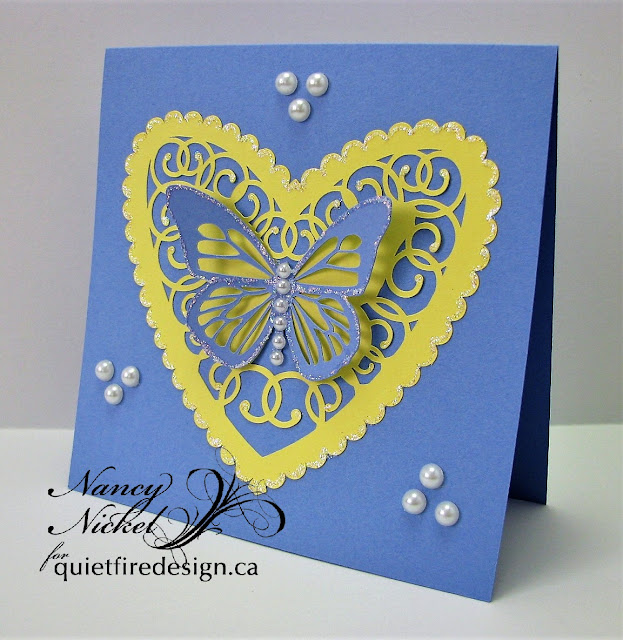
Butterfly Heart Card

Hello, everyone!

It's Nancy here today! I'm sharing this beautiful Butterfly Heart Card file,
 that you can find in the Silhouette Design Store right HERE.

Here's the card I made using this file:


Isn't that pretty?
The file includes three pieces: the card base, the heart doily, and the butterfly.


I cut my card base out of blue cardstock, and opted to use it tent-fold fashion. 
I cut the heart doily out of a pretty yellow. It's such an intricate design but cut beautifully!
Then I cut the butterfly out of the same blue cardstock.


I adhered my heart doily to the center of the card base.
I folded up the wings of the blue butterfly before adhering the body only to butterfly outline on the heart doily.


Then I used my Stickles and added a pretty outline of glitter all around the butterfly,
as well as the heart.
I also added a row of pearls to form the butterfly body.


Finally, I added several more pearls to the card base!
This is such an elegant card that could be made in endless colour combinations.
It's also a fabulous file to use some specialty papers, such a foil and vellum!
Again, the creative possibilities are endless! :o)


Thanks so much for stopping in today! I'll be back soon with another fun project!

* * * * *

Quietfire Products Used:


Other Products Used:
American Crafts Cardstock;
Stickles - Diamond, Star Burst;
Crafts Pearls.

Wednesday, August 21, 2019

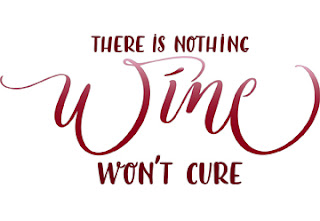
Scalloped Frame - There Is Nothing Wine Won't Cure - Wine is Sunlight - Easel


My turn on the Quietfire Digital blog and I was in a mood for some wine... and then I had some with super... BIG GRIN

I'm using a design element and quote stamp from Quietfire Design ("Wine Is Sunlight..." 4pce set).

Also using a clear sentiment "Happy Birthday Collection" from Quietfire Design also available on Elizabeth Craft Designs HERE.


And am using a couple of Suzanne's electronic files available on Silhouette onLine store, item #293004 and #297725. Click images to purchase.
Opened SCAL (Sure Cuts A Lot software) and the - Scalloped Frame. Ungrouped and broke apart to remove the 2 inner ovals, then regrouped the scalloped oval. Cut and pasted the scalloped frame and small oval to page 2 (see pic below). Used the large of the ovals and resized it to the outside dimensions of the scalloped oval. Created a shadow layer or Increased the size by 0.050
Copy this oval and paste it onto page 1 and 2.

On page 1, flip the 2nd oval and merge it slightly with the first then weld the 2 ovals. This is the basic structure for the easel. When cut, score down the center of the top oval.

Hit the card base direct to paper with Distress Oxide "Wilted Violet". 


Inked the scalloped frame with Versafine Clair "Monarch" and clear embossed twice. Adhered to card front.

 Changed the color for the word "wine" and print and cut the oval shape. Adhered to card front. 


On the floor: colored a piece of white cardstock using the oxide violet pad and clear embossed twice. Punched a bunch of circles using a 1/2" circle punch. adhered to a piece of scrap paper to hold the circles in place. Used a white gel pen to add a highlight to each circle. Stamped the leafy bit (lower portion of the "Wine is Sunlight..." quote) using Versafine Clair "Twilight" and fussy cut around the leaves and grapes. Colored with a Tombow marker and adhered to grape cluster. Folded it about a 1/3 down and adhered to floor to act as my 1st stopper.
Cut a small oval, stamped the quote with the Twilight and clear embossed. Folded it between the words and adhered to floor to act as my 2nd stopper.


Stamped the sentiment onto the floor using Versafine Clair "Purple Delight" and clear embossed. Sponged some oxide around the edges.

Final touch added some Liquid Pearls "Orchid" dots in the leafy grape cluster.