Welcome to Day 5 of the Quietfire Summer Blog Hop! It’s Kim here today!
Each day we will be sharing a project or two to inspire your summer creativity. We also have prizes!
There will be 2 prizes awarded, valued at $50 each and are a combination of Dies, Stamps and Digital files. (Suzanne will have a look at the interests of the winners to decide what to give away! If you’re not a digital person, you won’t want those files!) To be eligible to win, you must leave a sweet comment on each Blog Hop blog post! Visit Quietfire Creations and Quietfire Digital blogs to enter.
Here is the list of posts that you will need to comment on:
Monday: Suzanne on Quietfire Creations,
Tuesday: Katelyn on Quietfire Creations, Robyn on Quietfire Digital
Wednesday: Betsy on Quietfire Creations, Connie on Quietfire Digital
Thursday: Kora on Quietfire Digital
Friday: Diana on Quietfire Creations, Kim on Quietfire Digital (you are here!)
Deadline for commenting is midnight Saturday, July 25, 2020
Winners will be announced on Sunday, July 26th.
Good luck!
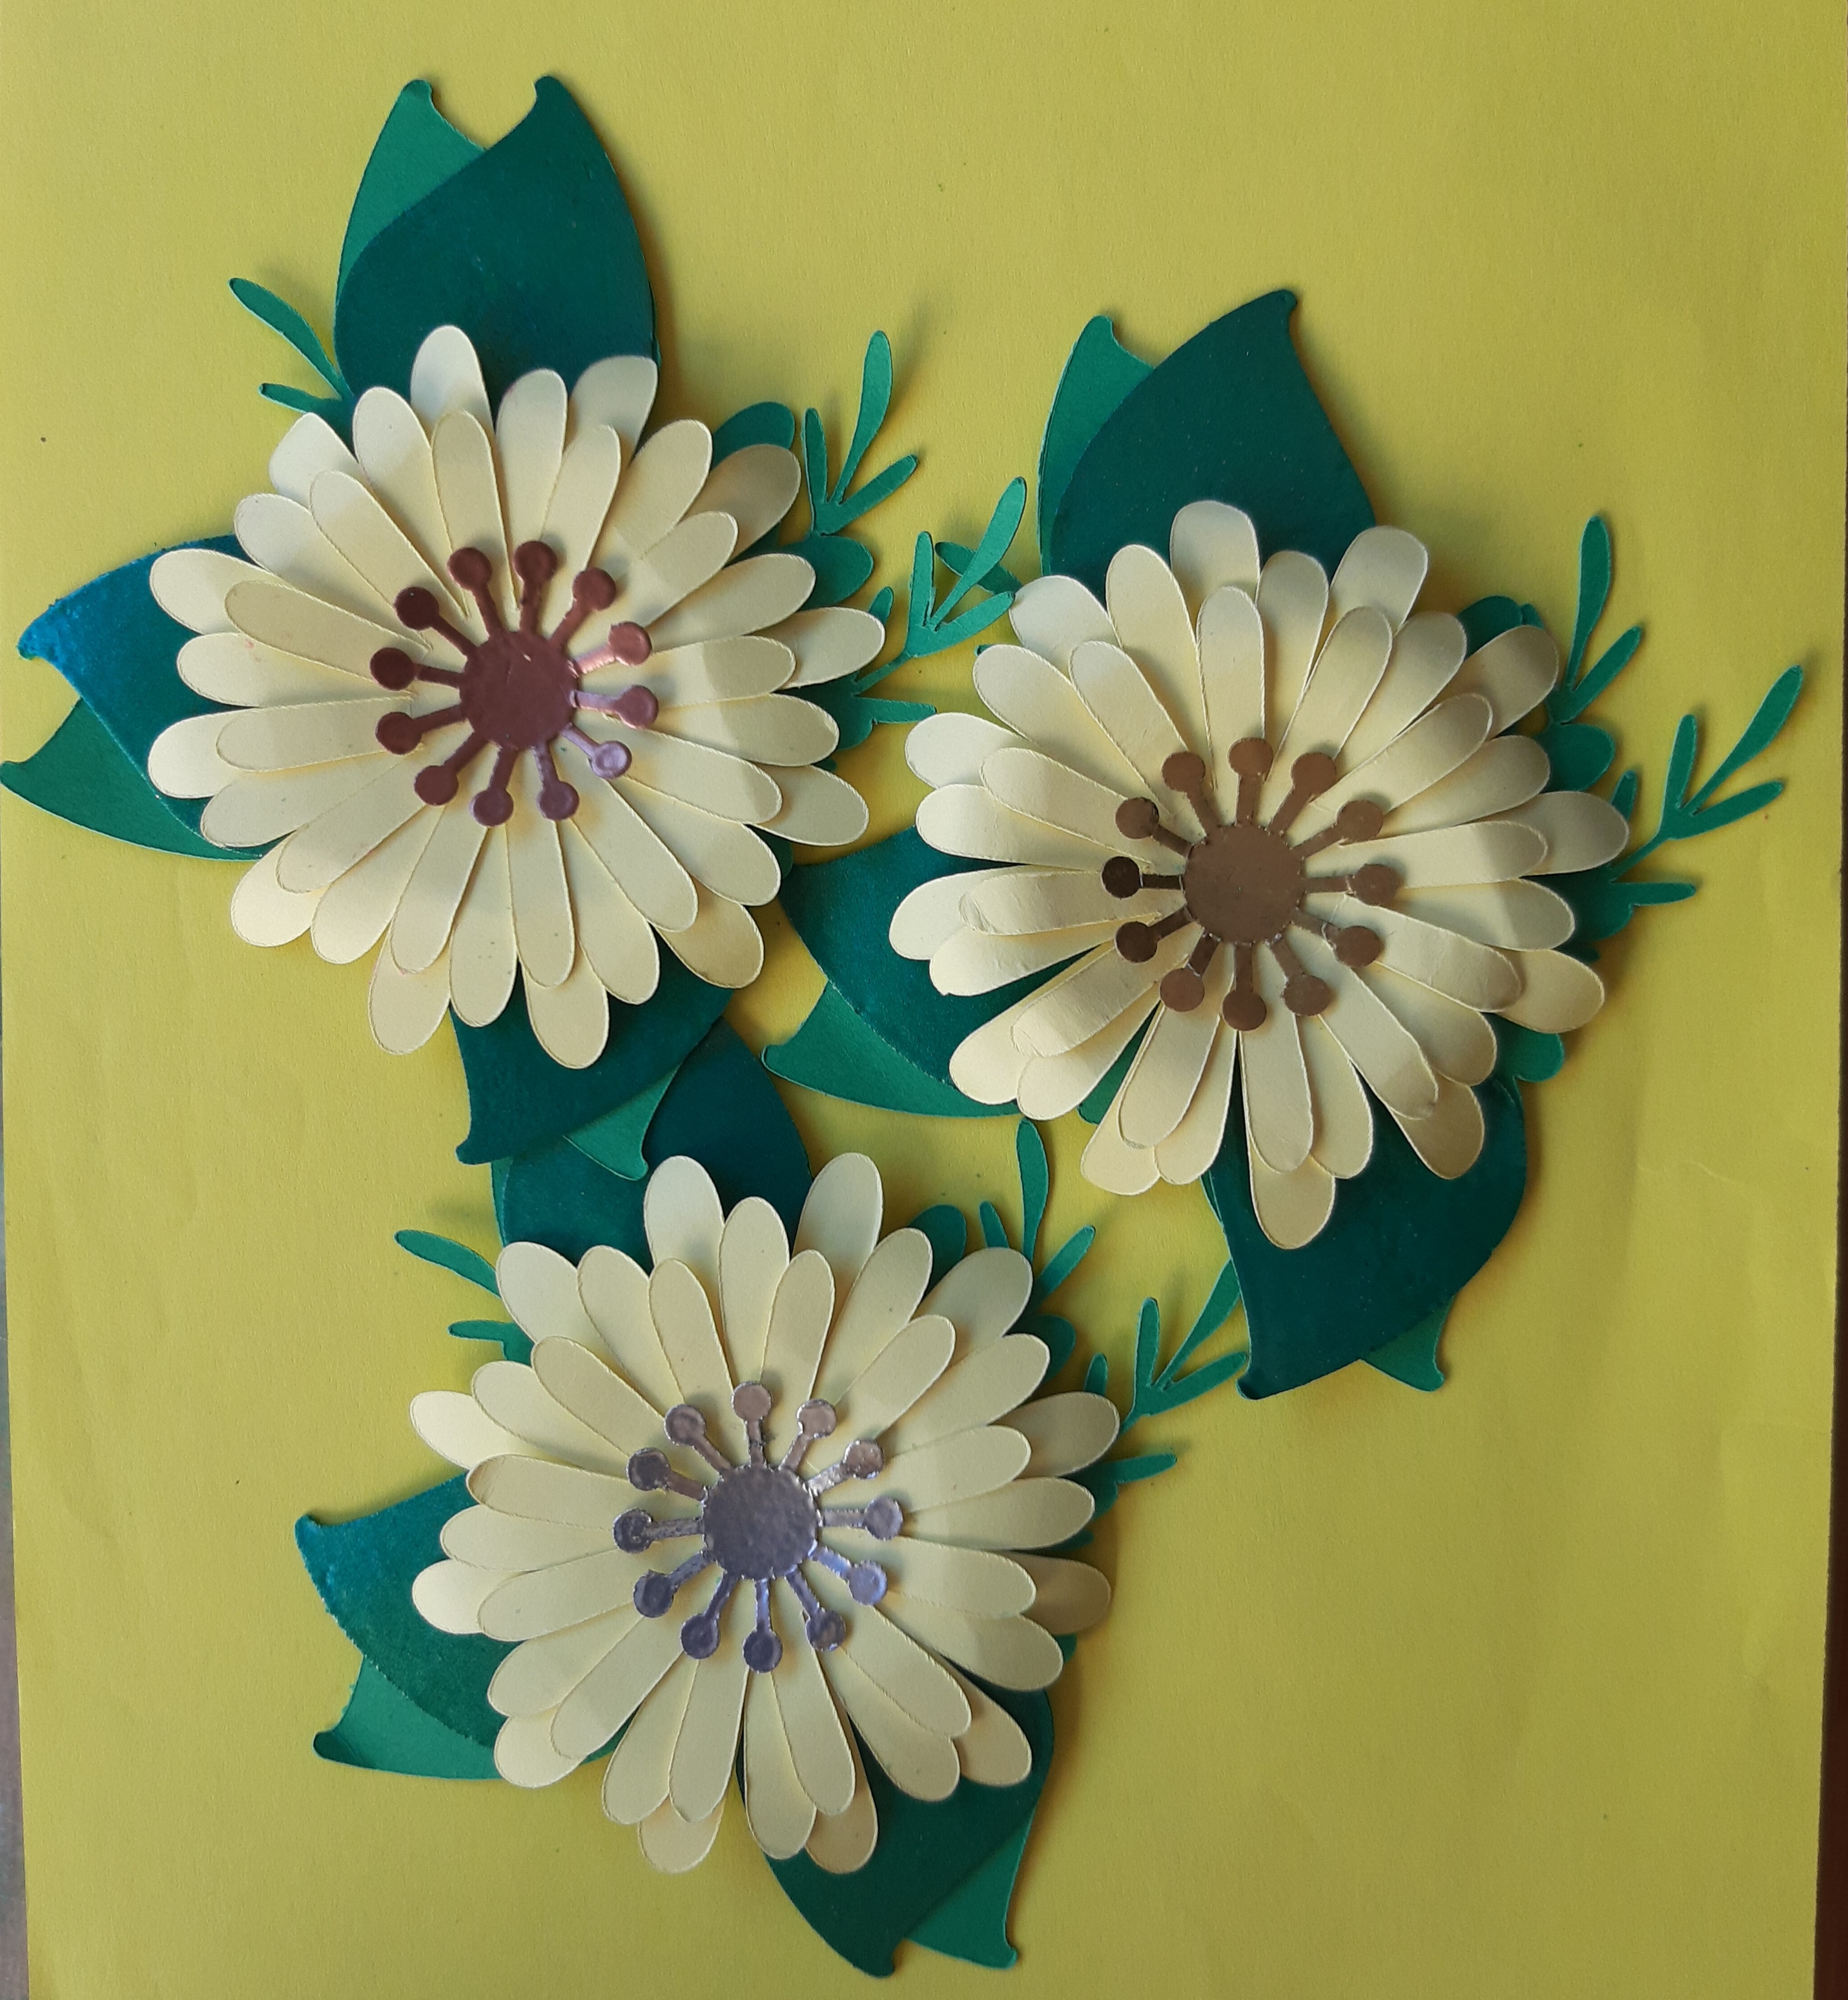
Here is my project:
Have you seen all of the Stencil Cards that Suzanne has designed? I loved them at first sight, but knew I would deconstruct the parts to add my own twist to the design! I wanted to create a stencil from TCW Stencil Sheets.
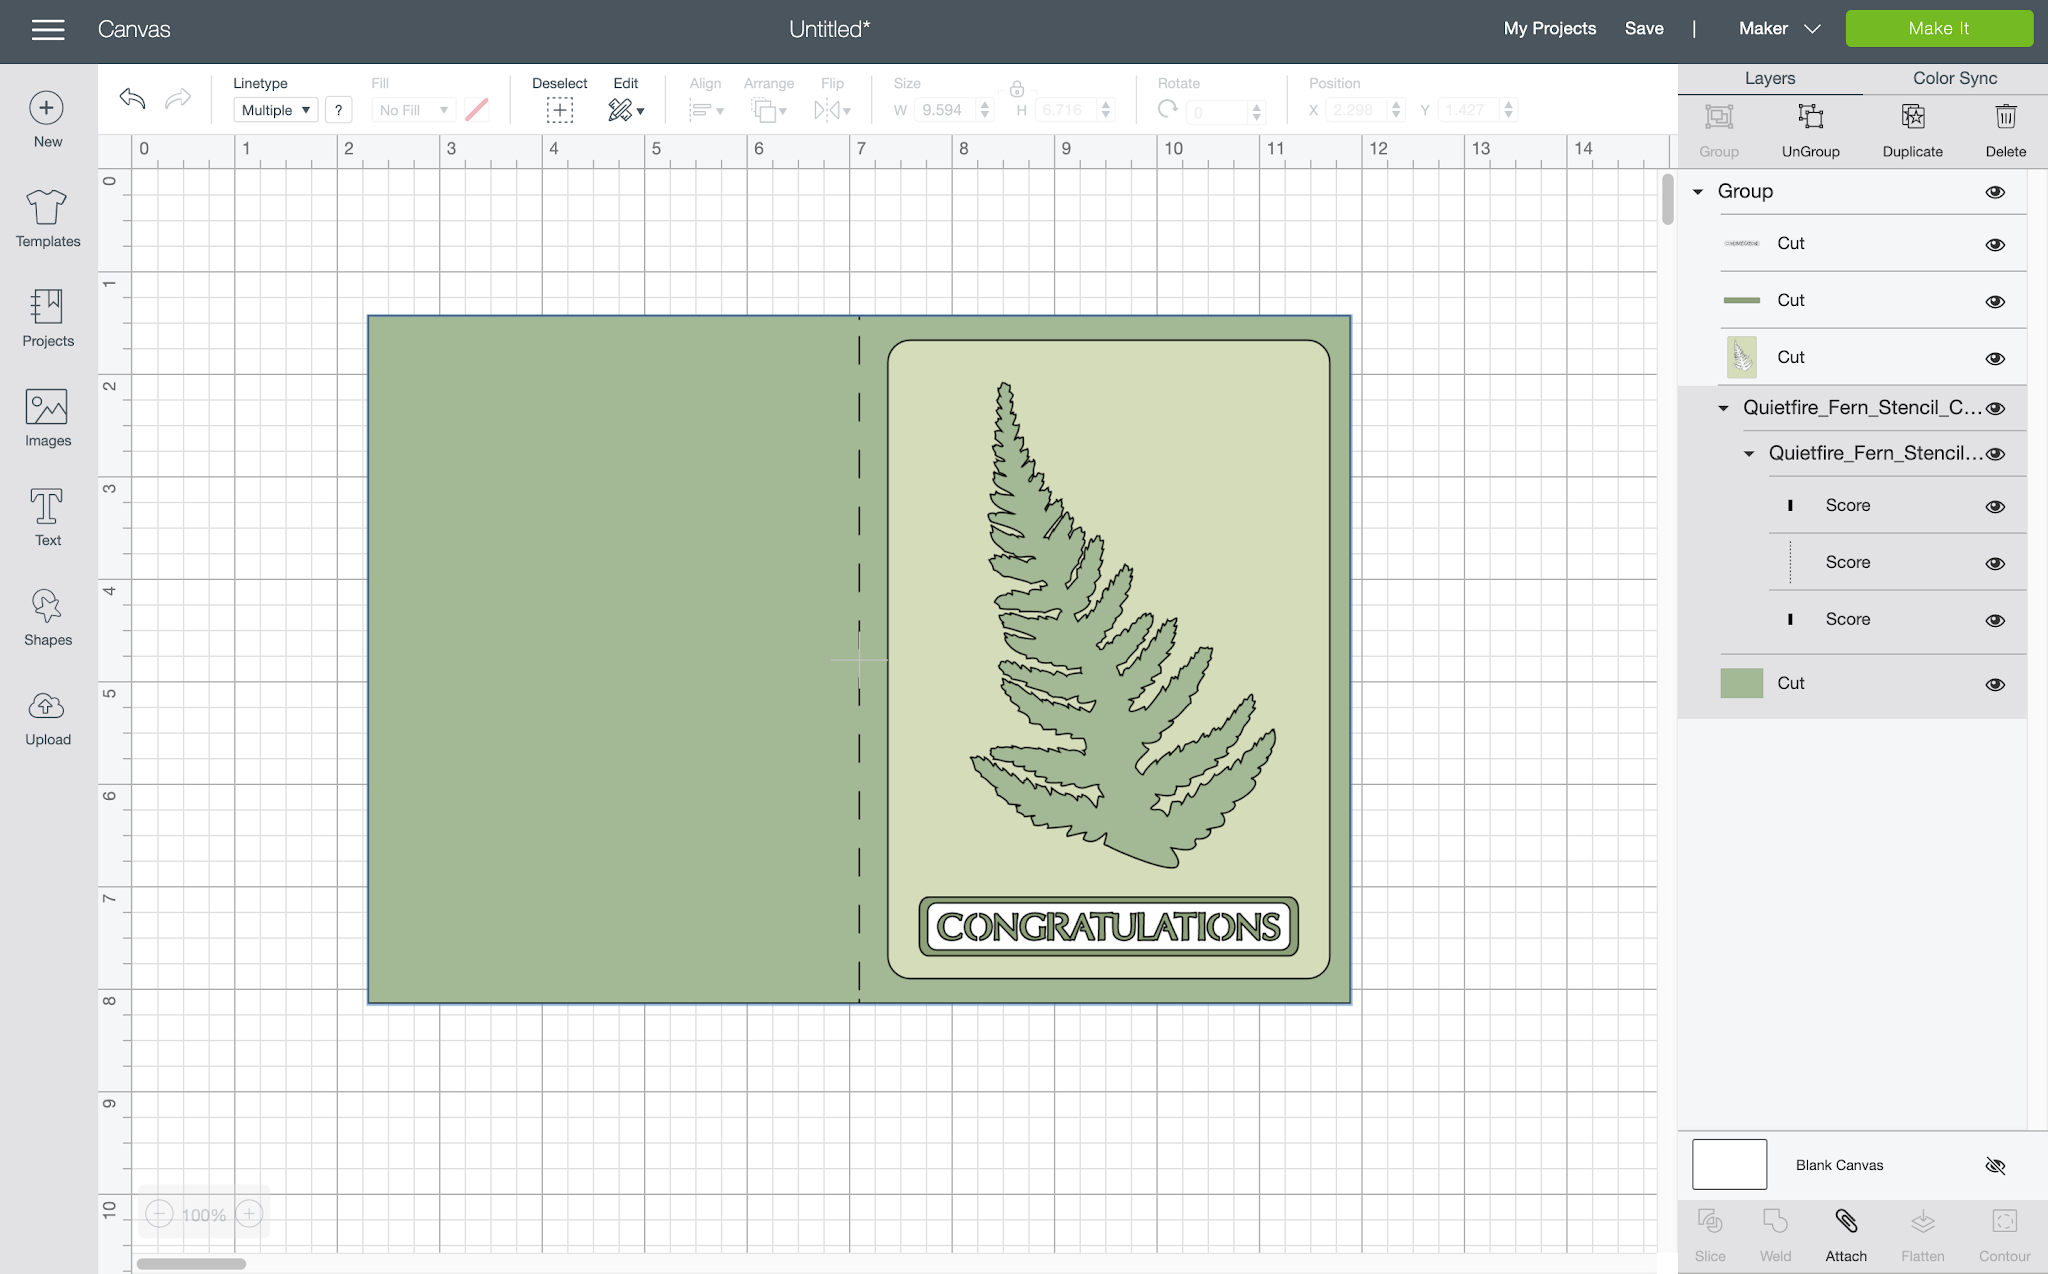
I have been a long time Cricut user and did my cuts using the Cricut Maker. I uploaded the card file to my Design Space.
I hid the card base, I only wanted to cut the fern and sentiment. I also brought in a circle from the basic shape files included with my Design Space.
I detached the sentiment from the card, so they could be cut separately. I cut the fern and circle from the Stencil Sheets. From each pattern I got a stencil and a mask! The sentiment was cut from a sturdy white card stock.
Using the Fern stencil, I added a layer of embossing ink then embossed using QFD Acanthus Teal Modern Gilding Powder. I went in a second time with an embossing pen to select areas, to add a second layer of gilding powder to give some added depth.
Using the circle stencil and Distress Oxide Inks I coloured where I wanted to place the sentiment. I also used the fern stencil a second time to add soft colour coming in from the edges of my card.
As a last afterthought, I splattered some Oxide spray over the card. The fern mask came in handy to keep the splatter off the embossed fern!
Thanks for checking in to my project! Can’t wait to see who the winners are!
Supplies:
Quietfire Design's Fern Stencil Card
Quietfire Design's Acanthus Teal Modern Gilding Powder
Cricut Maker
Creative Scrapbooker Magazine's Superstock
Distress Oxide Inks and Spray
Ranger Archival Embossing Ink
TCW Stencil Sheet
Scrapbook Adhesives by 3L adhesive runner & foam squares