Click on the file image to purchase (also available in SVG format)
I'm using an A Way With Words die "Noel" from Elizabeth Craft Designs, also available on Quietfire Design HERE (please note, there are a lot of Noel cut files by Suzanne in different calligraphic hands available in the Silhouette store... I just happened to have the die cut on my desk and grabbed it...).
I'm also using a sentiment stamp from Quietfire Design ("Have Yourself A Merry Little Christmas" 3pce set)
Click on any lantern image to enlarge.

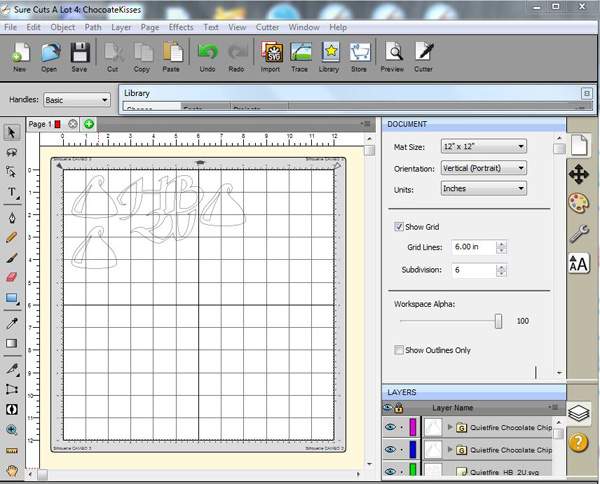
I opened my SCAL (Sure Cuts A Lot) software and opened the lantern file. It takes about 1 sheet of 12 x 12 and 1 sheet of 8.5 x 11 cardstock. (See below for the layout in SCAL)
 I cut everything from white cardstock. Folded along all the score lines. Then inked the lantern sides with Versafine "Vintage Sepia" and embossed with Emerald Creek "Verdigris". Glued the edge, top and bottom piece to close the lantern.
Painted the top piece with Distress dabber "Black Soot" inked with Versamark and embossed with Distress "Black Soot" embossing powder. I wanted a rough texture. Attached a green/gold narrow ribbon through the peak and adhered to the base of the roof prior to adhering to the lantern. Added some hot glue at the peak to ensure the ribbon stays put and to close up the hole I made...
Die cut the "Noel" from an off white cardstock and adhered to front.
Inked the holly leaves with the sepia and embossed with Queen's Gold embossing powder. Adhered to roof and front.
Added Liquid Pearls "Rouge" generously to create berries. When dry, added "White Opal" dots.


Stamped the sentiment on white cardstock using Versafine Black Onyx and clear embossed. Drew a wavy line mimicking the sentiment and cut along the line, then cut to separate the words and adhered parts on the three sides.
Here's what the Halloween lantern looks like. I used pumpkin and black cardstock only. Easy Peasy... no painting and I only added glitter to the "Boo" word and the owl's eyes.
I used the same file as the Christmas Lantern and then scavenged in my Halloween files for the various little elements. These are the files I scavenged... Click on any of those images to purchase.
Click on any lantern image to enlarge.
The first 2 SCAL images are for the lantern layout. The 3rd image is for the Halloween scavenged images. I set them on the top and bottom of my mat and hanging off the edges so I wouldn't waste paper or time for cutting...
Hope you'll give one of them a try. They go together really easily.


