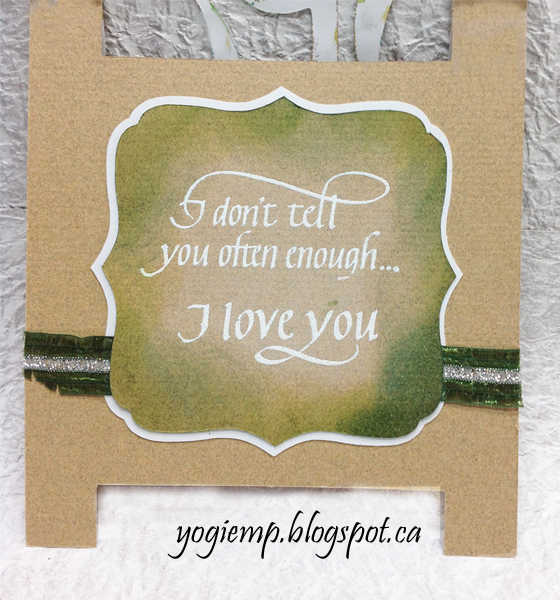
Here is a fun party decoration - or use it as a dimensional scrapbook or card embellishment - or make it into a lapel badge! I've also thrown in some brush lettering for your summer creations!
All these are available for download on the Silhouette Online Store today.
Using the Cameo to make these rosettes is a snap. No measuring or cutting or scoring. Just cut and you're ready to go. The hardest part will be deciding which papers to use!
I've created a basic rosette with a large scalloped base and paper button accent, a basic scalloped edge rosette, a double rosette, a heart-edge rosette (do this in pastels for a wedding or hold onto the idea till Valentine's Day) and a daisy rosette.
I would have made the daisy in traditional white, but all my designs have to be on a white background for Silhouette, so you would have only seen the center! The petals are not scored all the way to the tips so you can curl the tips to make the flower more interesting.
General Instructions:
Cut all elements in the colour of your choice. If possible, cut the base circle (the largest circle in the file) out of heavier cardstock. This will keep your rosette from buckling when it’s assembled. It’s important to use strong glues when you make these as the outer edges of the rosettes are under quite a bit of tension.
Accordion fold the rosette with your fingers and attach the ends together so that you maintain the Mountain-Valley-Mountain folds continuously around the ring. Press the accordion folded ring flat on your work surface. This might take a little practice and patience! Adhere the largest (base) circle to the flattened rosette. It doesn’t have to be perfectly in the middle, just make sure it doesn’t show from the top. Add the top embellishment and you’re good to go!
Happy Creating! Thanks for stopping by!
Suzanne


