Showing posts with label Modern Gilding powders. Show all posts

Tuesday, June 1, 2021

Kitties Birthday Card


Hello, crafty friends around the world!

How are you all doing? Enjoying the sun? This week´s blog project is a kitties birthday card. It´s a mix of a digital cutting file and an AWWW die:

AWWW HAPPY BIRTHDAY SMALL

other materials I used:
white cardstock
patterned paper


the cats all cut


embossing the cats and the "happy birthday"


putting the card together


Happy Birthday in detail


Here is the finished card. Have a lovely week,
Kora


Tuesday, May 4, 2021

QFD Completed Monogram Font


Hello, everyone!

Welcome to the month of May!

Matching this weeks´ tag theme: here is my puzzle tag. I made it for a friend and her husband (Sabine and Micha). I hope they will like it.


all cut

To add some extra I embossed the S and M with QFD Modern Gilding Powders Tyrian Purple


Adding a color matching ribbon and there it is: 
a puzzle tag.

Have a creative week,
Kora


Tuesday, June 23, 2020

Gingko Stencil Card


Hi Y'all!
Robyn here enjoying summer weather and botanical inspiration 
from Suzanne's stencil card series.
The digital cutting files are yours to enjoy as a card front or use as a stencil
and
If you hurry you can get the matching stamps.
Quietfire Design store is closing soon and stamps are limited in quantity.

On the Mat

You really get your moneys worth with this file.
You get the card front, sentiment, layers and card base.
The layer behind the leaves is gilded with

Using transparency cut a stencil and mask

Stencils beautifully!
peeled paint distress ink using blender brushes

and the cut outs for embellishments and/or other projects

I didn't end up using the stencil, and here it is with the matching stamps


Supplies:

Please share your creations with us at
on Facebook.


Wednesday, May 27, 2020

Lily of the Valley Pot Card in a Box

Hi Y'all!
Robyn here enjoying remembering the scent of lily of the valley just a few days past.

Hopefully you don't need too many get well soon cards!
Folds flat for mailing.

On the Mat
I made the label a tad larger to fit the stamp.

Pot edges and the sentiment are gilded with Copper Scroll Modern Gilding Powder.

Twiggy Wreath and Sentiments

Heads up!
Suzanne's online store is closing in June so order your stamps now!
Supplies


Please share your creations with us at
on Facebook

Wednesday, December 25, 2019

Nativity Tunnel Card

Merry Christmas, everyone!

It's Nancy back with you! I have the most suitable project to share with you today!
Of all the Christmas projects I made this year, I think this is my favorite!
To me...this is Christmas!


This is the Nativity Tunnel Card!
It's a fantastic file, and so much fun to make!
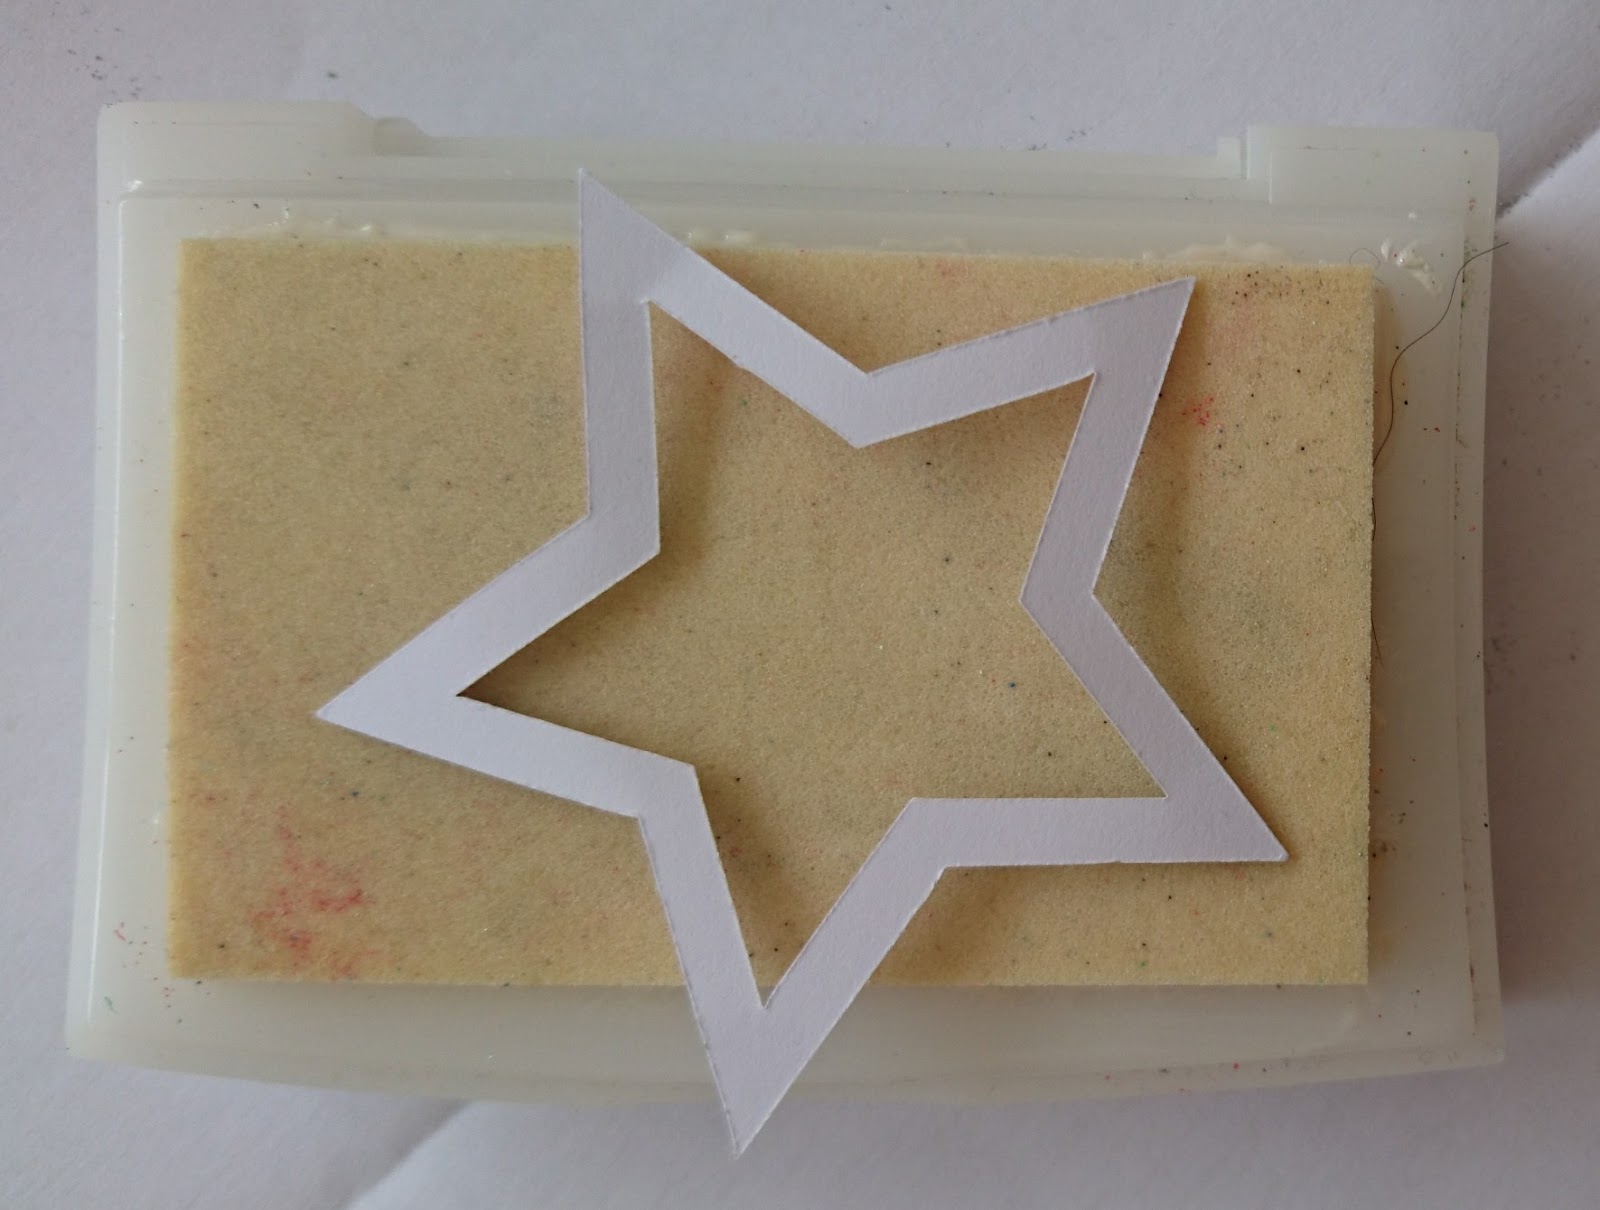
Knowing that I was going to ink my background, I cut the piece out of bristol paper.
The three design layers were cut from black cardstock,
and the star layer piece was cut from gold foil.


Using an ink blending tool, and several of my blue Distress Inks, I inked the background piece.
I followed the ink order from left to right, beginning in the center, and working my way out. 


Then I mixed a drop of white acrylic paint, some white PearlEx powder, and some water. 
Using a small paint brush, I spattered some stars in the sky. 
Some are big, some are small, some run together and look like shooting stars! ;o)


Although this card looks complicated, it is the simplest design to put together. 
Look at the fabulous detail and dimension!


When I first saw the star, I wanted to use the new Kells Gold Gilding Powder on it.
Since there was a fold in the middle, I opted to cut it out of gold foil instead.
Once I had it all assembled, I decided I really wanted a gilded star. 
I cut out another star layer, inked it with embossing ink, and heat embossed it with the Kells Gold.
I loosely adhered it on top of the gold foil star. 
Now if I want to fold the card up, I simply remove the gilded star, and fold it up!


I couldn't get a photo to show the beautiful shimmer of the stars,
so you'll have to use your imagination!


Here's a top view of the card:


Here's one final look:


Quietfire Design Products Used:


Other Materials Used:
Mixed Media Paper;
Recollections Cardstock;
Distress Inks: Tumbled Glass, Broken China, Salty Ocean, Faded Jeans;
Ink Blending Tool;
Pearl Ex Powder - Micropearl;
White Acrylic Paint;
Scrap of Gold Foil Paper.

* * * * *

Thanks so much for stopping in today!
I hope you have a very Blessed Christmas Season!
I'll be back with more in the new year! :o)

Wednesday, November 27, 2019

Hanging Ornament Boxes

Hello, everyone!

It's Nancy here with you today...sharing two fun Christmas ornaments.
I have used both the
Snowflake Mittens Hanging Ornament Box,
and the Christmas Star Hanging Ornament Box

We'll begin with the cute Mittens one:


Isn't that cute? 
The photo below shows all the cut pieces.


It's such a cool design, and really easy to put together.
You begin by adhering the sides and the bottom of the box.
Then you adhere the red mittens to the insert piece,
and then adhere the mitten cuffs in place on the red mittens.


Next, you slide the insert into the box, and slip the sides into the slots.
It's almost finished already!
Now all you have to do is adhere the top flaps in place, over the loops.


I really like how the insert sides poke out of the box sides.
I used the red snowflakes that were cut out of the mittens
as extra embellishments on the box.


Here's the back of the ornament.
It looks exactly like the front!


Now here's the Christmas Star Ornament:


I went a different way with the paper choices on this one.
I thought the star paper, and the shade of green would work perfectly with the fabulous new
Acanthus Teal Gilding Powder.


This Ornament Box is put together the same way as the last one.
It has a star layer, which I heat embossed in Acanthus Teal,
before adhering it in place on the insert.


The lovely embossing turns this into a very elegant Christmas Star Ornament Box!


Quietfire Design Products Used:


Other Materials Used:
Papers: Pebbles - Home For Christmas,
Craft Smith - Homemade Holiday;

* * * * *

Thanks so much for stopping in today!
I hope you got some good ideas for how to use these fun files for yourself!


See you again soon! :o)

Wednesday, November 13, 2019

Christmas Star Hanging Ornament Box


Hello everybody!

Christmas is approaching rapidly and you all are probably already busy with preparations. I am so in love with the hanging ornament boxes because you can use them for decoration on the Christmas tree or in a window. But you can also give them to friends as a little present.

There are many different ornaments you can choose from, I went for the 

On the mat

all cut


To add some extra glimmer to the star I decided on gilding it. I chose 
and


Isn´t it amazing how the Gilding Powders add this unique shimmering look to the project? 

When all is done it´s time to assemble the box. You can find a video tutorial here.


Thanks for stopping by today! Have a great day!
Kora